【study】Spring学习part03 新建模块spring6-ioc-annotation
基于注解管理bean(★) Spring通过注解实现自动装配的步骤如下:
引入依赖
开启组件扫描
使用注解定义bean
依赖注入
最基本的写法:
新建类User
1
2
3
4
5
6
7
8
9
package org.example.spring6;import org.springframework.stereotype.Component;@Component public class User {
配置bean文件,bean.xml,添加相关约束
xmlns:context="http://www.springframework.org/schema/context"
1
2
3
4
xsi:schemaLocation="http://www.springframework.org/schema/beans
1
2
3
4
5
6
7
8
9
10
11
12
13
<?xml version="1.0" encoding="UTF-8" ?> <beans xmlns ="http://www.springframework.org/schema/beans" xmlns:xsi ="http://www.w3.org/2001/XMLSchema-instance" xmlns:context ="http://www.springframework.org/schema/context" xsi:schemaLocation ="http://www.springframework.org/schema/beans http://www.springframework.org/schema/beans/spring-beans.xsd http://www.springframework.org/schema/context http://www.springframework.org/schema/context/spring-context.xsd" ><context:component-scan base-package ="org.example.spring6" /> </beans >
使用注解定义bean Spring提供了一下多个注解,这些注解可以直接标注在Java类上,将它们定义成Spring bean
注解
说明
@Component
该注解用于描述Spring中的bean,他是一个泛化的概念,仅仅表示容器中的一个组件(bean),并且可以作用在应用的任何层次,例如Service层,Dao层等。使用时只需将该注解标注在相应类上即可。
@Repository
该注解用于将数据访问层(Dao层)的类标识为Spring中的bean,其功能与@Component相同。
@Service
该注解通常作用在业务层(Service层),用于将业务层的类标识为Spring中的bean,其功能与@Component相同
@Controller
该注解通常作用在控制层(如Spring MVC的Controller),用于将控制层的类标识为Spring中的bean,其功能与@Component相同
编写测试类
1
2
3
4
5
6
@Test public void testUser () {ApplicationContext context = new ClassPathXmlApplicationContext ("bean.xml" );User user = context.getBean("user" , User.class);
@Autowired注入 单独使用@Autowired注解是根据类型装配,默认是byType
1 2 3 4 5 6 7 8 9 10 11 12 13 14 <?xml version="1.0" encoding="UTF-8" ?> <beans xmlns ="http://www.springframework.org/schema/beans" xmlns:xsi ="http://www.w3.org/2001/XMLSchema-instance" xmlns:context ="http://www.springframework.org/schema/context" xsi:schemaLocation ="http://www.springframework.org/schema/beans http://www.springframework.org/schema/beans/spring-beans.xsd http://www.springframework.org/schema/context http://www.springframework.org/schema/context/spring-context.xsd" ><context:component-scan base-package ="org.example.spring6" /> </beans >
构建一个小demo,项目结构如下
org/example/autowired/路径下
1
2
3
4
5
6
7
8
9
10
11
12
📁 autowired/UserDaoImpl .UserDao .UserController .UserServiceImpl .UserSerivce .
Controller使用@Controller注解
Dao的接口实现使用@Repository注解
Service的接口实现使用@Service注解
UserController、UserServiceImpl、UserDaoImpl分别实现add()方法,接口省略不写。
1. 属性注入 在UserController中注入service,这里不再需要setter()进行注入,使用@Autowired注解,下面同理。即注解写到属性上。
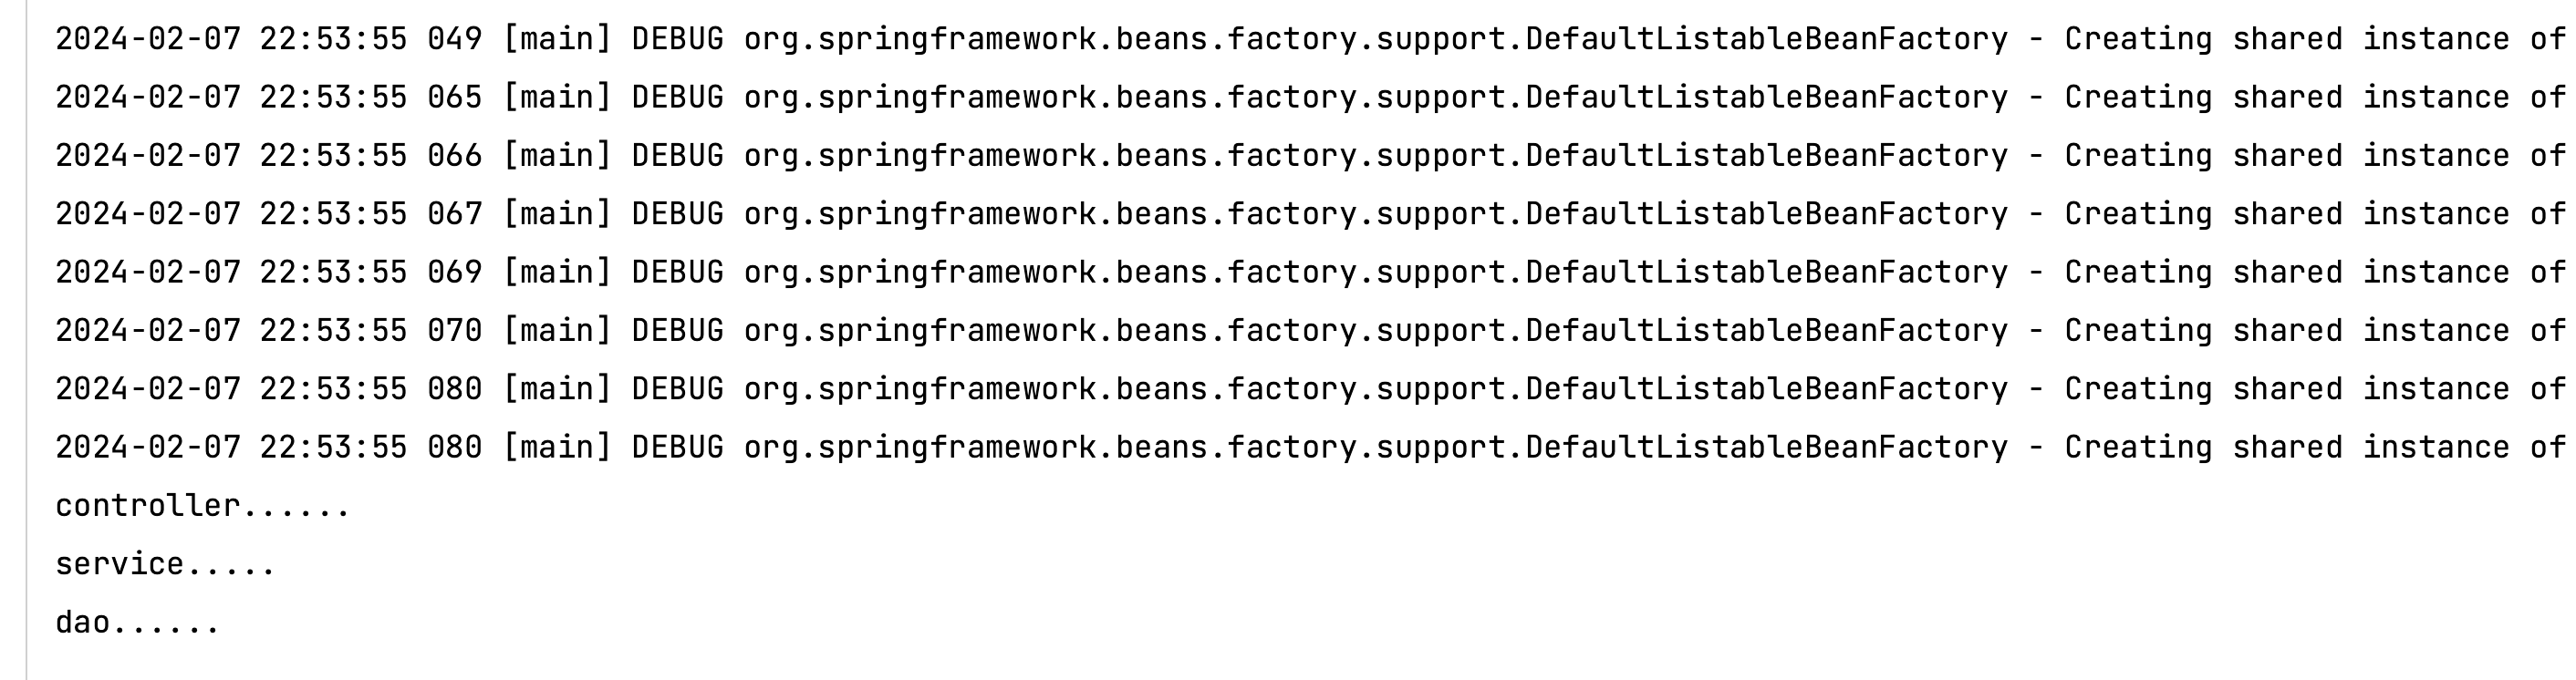
1
2
3
4
5
6
7
8
9
10
11
12
13
@Controller public class UserController {@Autowired private UserService userService;public void add () {"controller......" );
在UserServiceImpl中注入dao
1
2
3
4
5
6
7
8
9
10
11
12
@Service public class UserServiceImpl implements UserService {@Autowired private UserDao userDao;public void add () {"service......" );
编写测试类
1
2
3
4
5
6
@Test public void testAutowired () {ApplicationContext context = new ClassPathXmlApplicationContext ("bean.xml" );UserController controller = context.getBean(UserController.class);
2. set注入 写出其setter(),在前方加入注解@Autowired,之后同理
1
2
3
4
5
6
7
8
9
10
11
12
13
14
15
16
17
18
19
20
21
22
23
24
25
package org.example.autowired.controller;import org.example.autowired.service.UserService;import org.springframework.beans.factory.annotation.Autowired;import org.springframework.stereotype.Controller;@Controller public class UserController {private UserService userService;@Autowired public void setUserService (UserService userService) {this .userService = userService;public void add () {"controller......" );
3. 构造方法注入 在构造函数前加入注解@Autowired,其他同理
1
2
3
4
5
6
7
8
9
10
11
12
13
14
15
16
17
18
19
20
21
22
23
24
25
26
package org.example.autowired.controller;import org.example.autowired.service.UserService;import org.springframework.beans.factory.annotation.Autowired;import org.springframework.stereotype.Controller;@Controller public class UserController {private UserService userService;@Autowired public UserController (UserService userService) {this .userService = userService;public void add () {"controller......" );
4. 形参注入 形参也可以使用@Autowired进行注解
5. 只有一个构造函数,无需使用注解 当构造函数只有一个时,Autowired注解可以省略
6. @Autowired注解和@Qualifier注解联合 新建一个UserRedisDaoImpl类实现UserDao接口
1
2
3
4
5
6
7
8
@Repository public class UserRedisDaoImpl implements UserDao {@Override public void add () {"user redis......" );
此时执行测试代码会报错
1
2
org.springframework.beans.factory.UnsatisfiedDependencyException: Error creating bean with name 'userController' : Unsatisfied dependency expressed through method 'setUserService ' parameter 0: Error creating bean with name 'userServiceImpl' : Unsatisfied dependency expressed through field 'userDao' : No qualifying bean of type 'org.example.autowired.dao.UserDao' available: expected single matching bean but found 2 : userDaoImpl,userRedisDaoImpl
因为UserDao在注入的时候发现了两个对象,userDaoImpl,userRedisDaoImpl,此时不能根据类型注入,需要进行名称注入
1
2
3
4
5
6
7
8
9
10
11
12
13
14
15
@Service public class UserServiceImpl implements UserService {@Autowired @Qualifier (value = "userRedisDaoImpl" )private UserDao userDao;@Override public void add () {"service....." );
@Resource注入 与@Autowired注解区别
@Resource
@Autowired
是JDK扩展包中,属于JDK的一部分。所以该注解是标准注解,更具有通用性。
Spring框架中自己的注解
默认根据名称装配byName,未指定name时,使用属性名作为name。通过name找不到则会自动启动通过类型byType装配
默认根据类型装配byType,如果想根据名称装配,需要配合@Qualifier注解一起使用
用在属性上、setter方法上
用在属性上、setter方法上、构造方法上、构造方法参数上
需要使用依赖(JDK高于11或低于8需要引入依赖)
1 2 3 4 5 <dependency > <groupId > jakarta.annotation</groupId > <artifactId > jakarta.annotation-api</artifactId > <version > 2.1.1</version > </dependency >
全注解开发 不再使用spring配置文件,写一个配置类代替配置文件
新建配置类
1
2
3
4
5
6
@Configuration @ComponentScan("org.example") public class SpringConfig {
新建测试用例
1
2
3
4
5
6
7
@Test public void testUserControllerAnno () {ApplicationContext context = new AnnotationConfigApplicationContext (SpringConfig.class);UserController controller = context.getBean(UserController.class);